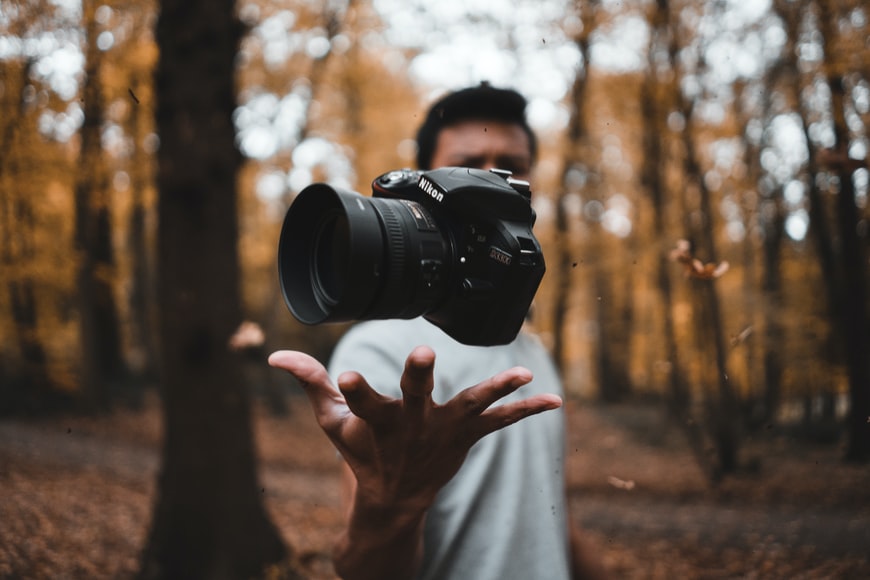
Portrait is a special genre of photography that allows you to reveal a person's character, his inner and outer beauty. At the same time, there are universal tips on camera settings that allow you to get good shots, regardless of the concept of shooting.
General recommendations
Portraits are often taken from the shoulders or waist, i.e. from a rather close-up. So the model mustn't be shy in front of the camera. To do this it is worth talking a little about mutually interesting topics. You can remind the person that Retouchme.com/service/fix-teeth-photo-editor-app allows you to quickly remove any defects of a smile from a photo.
The best photos are obtained when using a camera with a range of manual settings. This takes longer to shoot, but you get more control over the result, you can change the parameters depending on the light. Automatic modes are much less flexible, so getting a good portrait with them will be a stroke of luck.
Whenever you change shooting conditions or adjust settings, be sure to take test shots that you can immediately see on the camera's display. Don't forget to zoom in on parts of the frame to spot a lack of sharpness or exposure in time.
For an objective evaluation set the brightness of the screen to maximum (or almost maximum) in advance and fix it. The thing is, automatically changing this parameter will prevent you from correctly evaluating the exposure. As a result, you will only be able to notice the flaws when you view the photos on your computer monitor when it will be difficult to correct the problem.
Portrait in natural light
- ISO. This parameter is often recommended to be set in the first place, as it rarely needs to be changed later. In natural light, the baseline (lowest) value is optimal. This varies from 100 to 200 for different cameras. If the light is weak, you can increase the ISO, but only after you have reduced the shutter speed and widened the aperture, and still not achieve the desired result.
- Aperture. The optimal values depend on the background sharpness you want. Portraitists often prefer a blurred background to put even more emphasis on the model. This requires a wide aperture, such as f/1.4. You can get sharpness in both backgrounds by setting it to f/4, f/5.6, or f/8. The optimum choice for your specific conditions should be determined experimentally.
- Exposure. To find the best option, use an exposure meter-expose down or up until you get a good center value. Take a photo and check the histogram-it should be to the right, but so that the photo doesn't appear overexposed.
- Shutter speed. If you are holding the camera in your hands when you take the picture, it is advisable to set a parameter that is inversely proportional to the double focal length. For example, an 80mm lens would require a shutter speed of 1/160s. In good light, you can use a smaller value. If you have a tripod, the shutter speed can be whatever you want, as long as it is within the shutter speed range.
Portrait with artificial light or flash
- ISO. You will need a minimum baseline value. You can increase the setting if you want to increase the exposure while maintaining the flash output and aperture. But such cases do not occur often.
- Aperture. This value affects the optimal flash output: the wider the aperture, the less light is needed for the shot. It is recommended to adjust it individually, and you can start with f/8.
- Flash output. This parameter should be adjusted last, after setting the other settings. It will be enough to make a few test shots to determine the best light intensity.
- Shutter speed. In artificial light, this setting does not matter much. It is enough to synchronize the shutter speed with the flash. Usually, it is about 1/200 s.
With these simple tips, even a beginner can get spectacular portrait shots!